Small Kitchen Under-Sink Organization: A Safe, Leak-Ready System
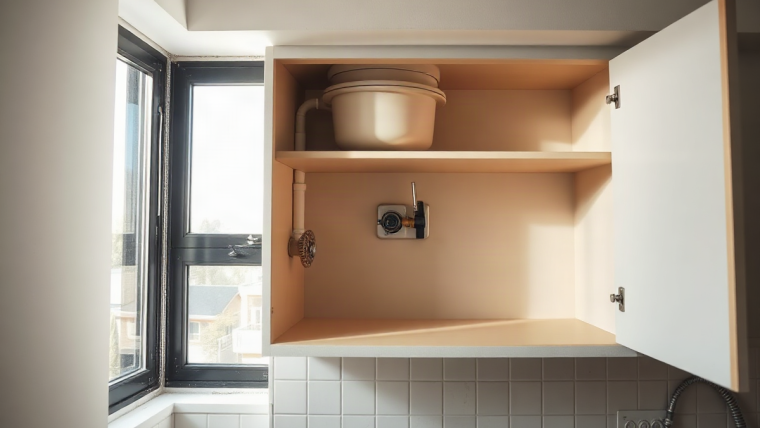
The cabinet under a kitchen sink is one of the most awkward storage spaces in a small home: it’s cramped, it’s built around plumbing instead of your needs, and it’s the one spot in the kitchen where a slow leak can quietly ruin whatever you’ve stashed there. If you’re working with a small kitchen and no extra storage to spare, that cabinet still has to earn its keep — it just needs a plan that accounts for pipes, moisture, and rental restrictions rather than a generic bin-and-basket approach.
Why Under-Sink Storage Needs Special Planning
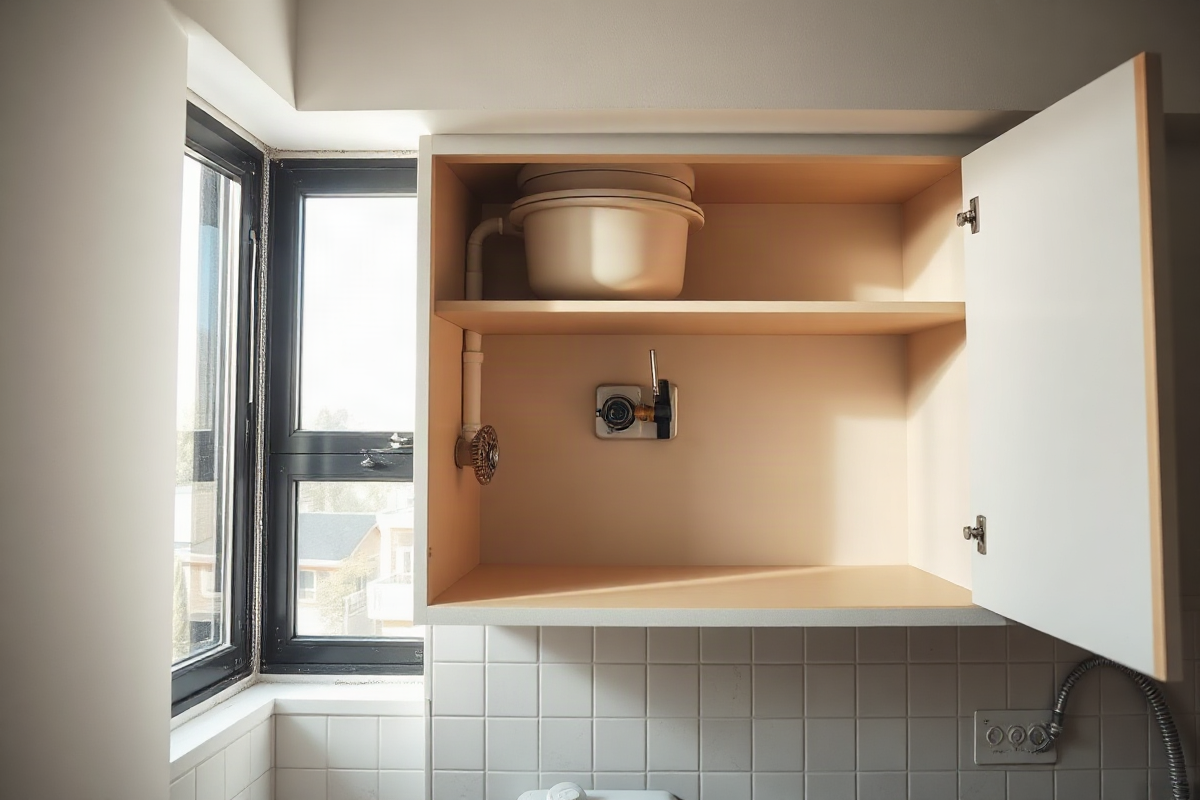
Unlike a hall closet or pantry shelf, the under-sink cabinet has a plumbing trunk running through the middle of it, a shutoff valve you need to reach quickly in an emergency, and a floor that’s more likely to get damp than any other storage surface in the kitchen. That combination means organizing systems designed for flat, dry, obstruction-free spaces often don’t translate well here. A stackable drawer tower that fits perfectly in a bedroom closet may not fit around a P-trap. A cardboard-based bin that’s fine in a pantry can wick moisture and disintegrate under a sink.
Before buying anything, it’s worth checking the cabinet itself for signs of past or current leaks — softened or discolored wood, a musty smell, rust rings on metal surfaces, or a slightly swollen cabinet floor. If you find any of these, address the leak or flag it to your landlord before you invest time and money in an organization system. There’s little point building a tidy setup on top of a moisture problem that will only get worse.
Measure First: Know Your Space Before You Buy
Under-sink cabinets are rarely uniform rectangles. Measure the width, depth, and height in multiple spots, not just at the front of the cabinet, since pipes and valves often narrow the usable space as you go back. Note the height from the cabinet floor to the underside of the sink basin, and separately note any spots where a garbage disposal, filtration unit, or P-trap drops down lower than the rest of the space — these create dead zones that a rigid shelf or bin won’t clear.
- Measure width and depth at the front, middle, and back of the cabinet
- Record the lowest clearance point, not just the average height
- Note the location and height of shutoff valves so you never block them
- Sketch the layout or take a few photos on your phone to reference while shopping, since it’s easy to misjudge angles from memory
Renter-Friendly Mounting Options
If you’re renting, drilling into cabinet doors or walls usually isn’t an option, which rules out a lot of standard organization hardware. Fortunately, there are a few mounting methods that add storage without permanent changes.
Removable hooks can hold spray bottles, dish brushes, or small cleaning tools on the inside of the cabinet door. Look for hooks with a stated weight limit and a surface compatibility guide from the manufacturer, since painted wood, laminate, and metal all hold adhesive differently. Limitation: humidity under a sink can weaken adhesive over time, so test a hook on an inconspicuous spot first and check it periodically rather than assuming it will hold indefinitely.
Magnetic strips work well on metal surfaces, such as some cabinet interiors or the sides of a metal trash can, for holding small metal tools or spray caps. Limitation: not every under-sink surface is actually magnetic — many cabinets are wood, laminate, or painted composite — so confirm with a quick magnet test before buying, and avoid overloading a thin strip with anything heavier than light tools.
Pegboards offer a flexible, semi-permanent option in cabinets where drilling isn’t allowed, since some versions mount with tension rods or adhesive backing rather than screws. Choose a size that fits without blocking pipe access or the door swing, and confirm the mounting method is actually allowed under your lease. Limitation: pegboard accessories add up in cost, and a board that’s too large for the cabinet can end up blocking the shutoff valve.
Whatever mounting method you choose, always follow the manufacturer’s stated weight limits and test adhesion or tension with a lighter load before committing your full set of supplies to it.
Maximizing Vertical Space
Most under-sink cabinets waste vertical space above and around the plumbing. Shelf risers let you stack cleaning supplies in layers instead of piling them on the floor, without requiring permanent shelving. Measure the height clearance around your pipes carefully before choosing riser dimensions — a riser that’s a few inches too tall will hit the underside of the sink basin or the cabinet door hinges.
In cabinets with a narrow gap beside the pipes, a slim rolling cart can make use of otherwise dead space, letting you pull supplies forward instead of reaching over the plumbing. Measure the narrowest point of the gap, including any pipe protrusions, before buying — carts are usually built to fixed widths and won’t compress to fit. Limitation: wheel locks on these carts don’t always grip well on uneven or slightly warped cabinet flooring, so test that the cart stays put before loading it with heavier items.
Before committing to any riser height or cart size, double-check that the cabinet door still closes fully and that you’re not blocking access to the shutoff valve.
Organizing Small Items and Loose Supplies
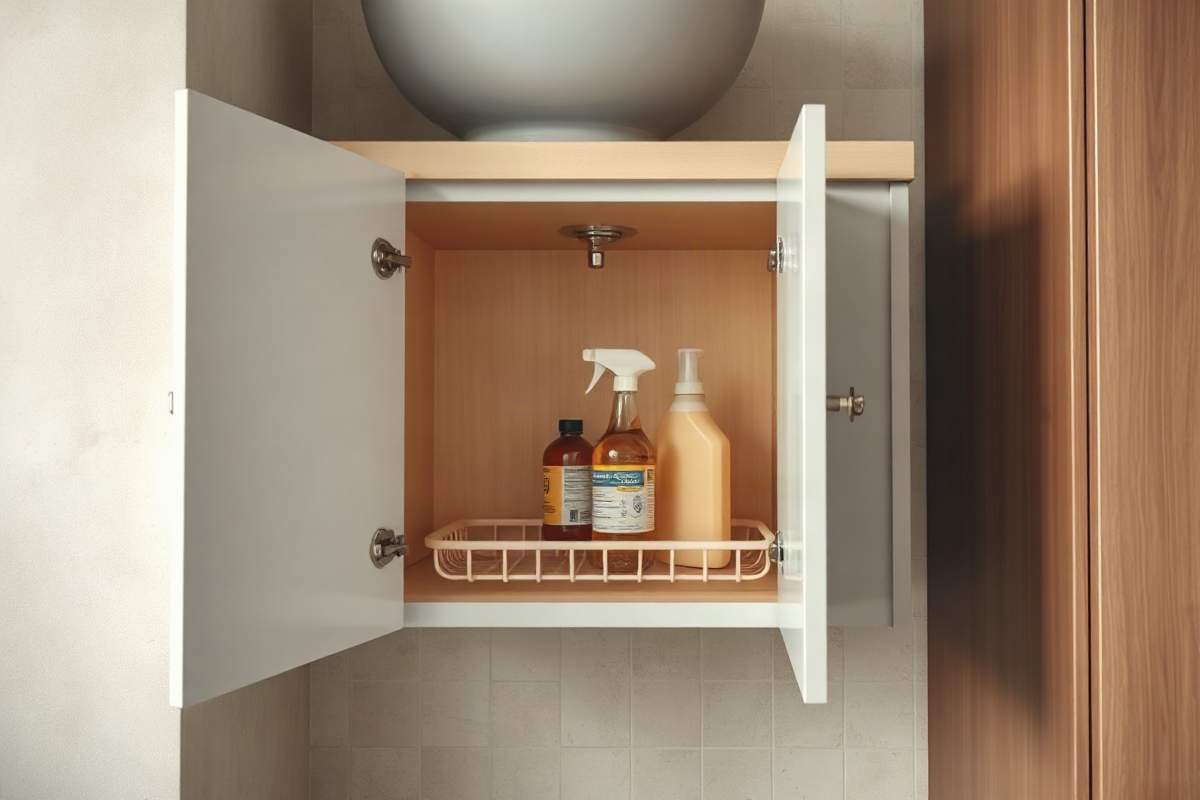
Loose items — sponges, gloves, extra scrub brushes, drain stoppers — tend to collect in the corners of the cabinet floor where they’re easy to lose track of. Drawer organizers, the kind normally used inside kitchen drawers, can be repurposed flat on the cabinet floor to corral these small items into defined sections. Look for adjustable or modular trays that can adapt to the irregular shape most under-sink floors have around the pipe cutout, and choose water-resistant materials given how close they’ll sit to potential leaks.
For corner-style cabinets, a turntable (lazy Susan) makes it much easier to reach bottles pushed to the back without having to remove everything in front of them. Choose a diameter that actually suits the curve or corner of your cabinet — an oversized turntable will catch on the door frame when you try to spin it — and check the stated weight capacity so a full rotation of heavy bottles doesn’t strain or warp the base.
Grouping items by how often you use them, rather than by category alone, cuts down on the bending and searching that under-sink storage usually demands. Keep daily-use items like dish soap refills near the front, and less frequent items like specialty cleaners or extra sponges toward the back or on a riser shelf.
Keeping the System Leak-Ready
Because this cabinet is the most likely spot in the kitchen to encounter water outside of a pipe, the materials you choose matter as much as the layout. Plastic bins tolerate occasional dampness far better than cardboard boxes or fabric baskets, which can soften, mold, or stain if they sit in even a small amount of moisture. If you already own cardboard-based organizers, consider reserving them for drier cabinets and using plastic or water-resistant options here instead.
- Choose bins and trays in plastic or coated materials rather than cardboard or unfinished wood
- Keep a clear path to the shutoff valve at all times — never stack bins or risers in front of it
- Do a monthly check under stored items for pooling water, warped cabinet flooring, or a musty smell, since leaks often start slowly
These checks take a couple of minutes but catch problems early, before a slow drip turns into water damage that spreads beyond the cabinet.
Sample Layouts for Small Kitchens
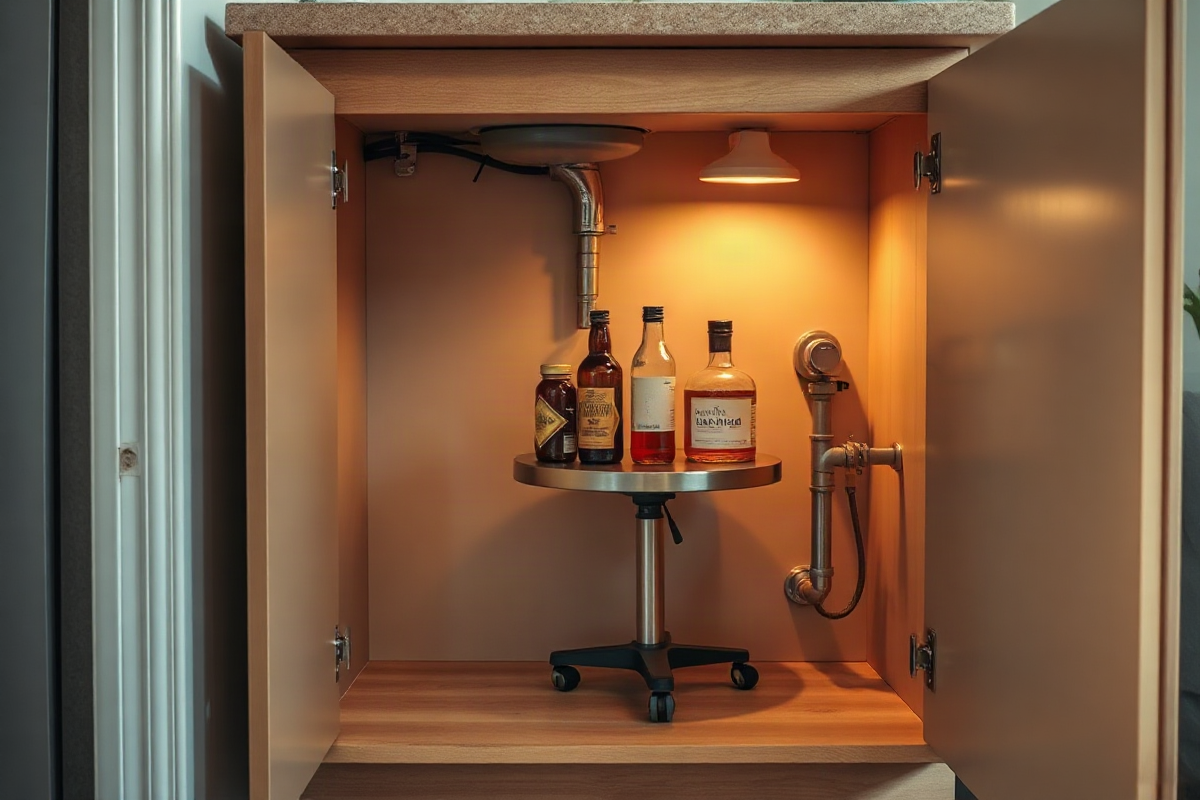
For a narrow cabinet with pipes running down the center, one workable layout puts a slim rolling cart on one side of the pipe for bottled cleaners, a shelf riser on the other side for stacked supplies, and a flat drawer organizer at the very front of the cabinet floor for small daily-use items like gloves and sponges. This keeps the pipe itself fully accessible while using both side spaces efficiently.
For a corner-style under-sink cabinet, a turntable placed toward the back corner lets you rotate bottles into reach without lifting anything, while a smaller shelf riser near the front holds shorter items that don’t need the extra height. A removable hook on the inside of the door can hold a spray bottle or scrub brush, keeping it off the cabinet floor entirely.
These layouts are starting points, not universal templates — the exact placement will depend on where your pipes, valves, and any disposal unit sit. Use the measurements and photos from your own cabinet to adapt the layout rather than assuming a product will fit just because it worked in someone else’s kitchen.