How to Clear Small-Kitchen Counter Clutter With Appliance Zones
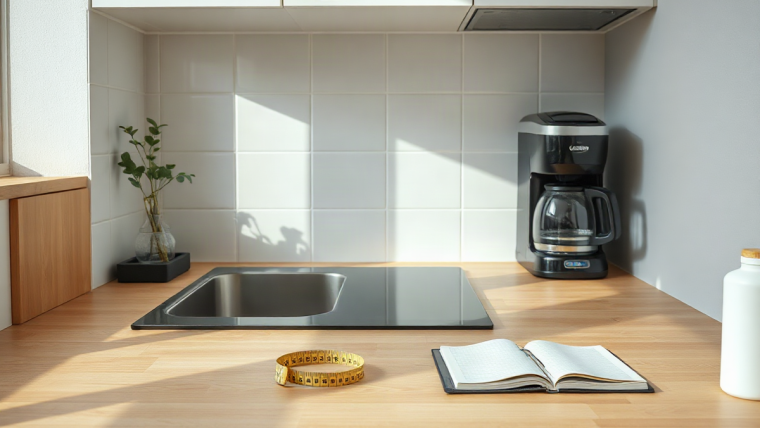
A coffee maker, a toaster, a blender, and a microwave can fill an entire small-kitchen counter before you’ve even set down your keys. When there’s nowhere else to put things and you’re not allowed to rip out cabinets or install new shelving, the clutter just stays there, appliance cords tangled, counter space gone. The fix isn’t more storage — it’s grouping what you already own into zones based on how you actually use your kitchen.
Why Appliance Zones Solve Small-Kitchen Counter Clutter
An appliance zone is simply a dedicated area on your counter, cart, or shelf reserved for a specific task — a coffee zone, a breakfast zone, a baking-prep zone. Instead of scattering appliances wherever they fit, you group them by function so your eye (and your hand) knows exactly where to go.
This matters in small kitchens because visual clutter and physical clutter aren’t the same problem. Even if every appliance technically fits on the counter, a jumble of shapes and cords reads as chaos and makes the space feel smaller than it is. Grouping by task creates visual order, which frees up perceived space even before you remove a single item.
This approach also happens to be ideal for renters. You’re not waiting on a landlord to approve new cabinetry or a kitchen remodel. Zones use furniture and organizers you can take with you when you move — carts, risers, hooks, and trays — rather than built-ins tied to the unit.
Measure Your Counter and Appliances Before You Buy
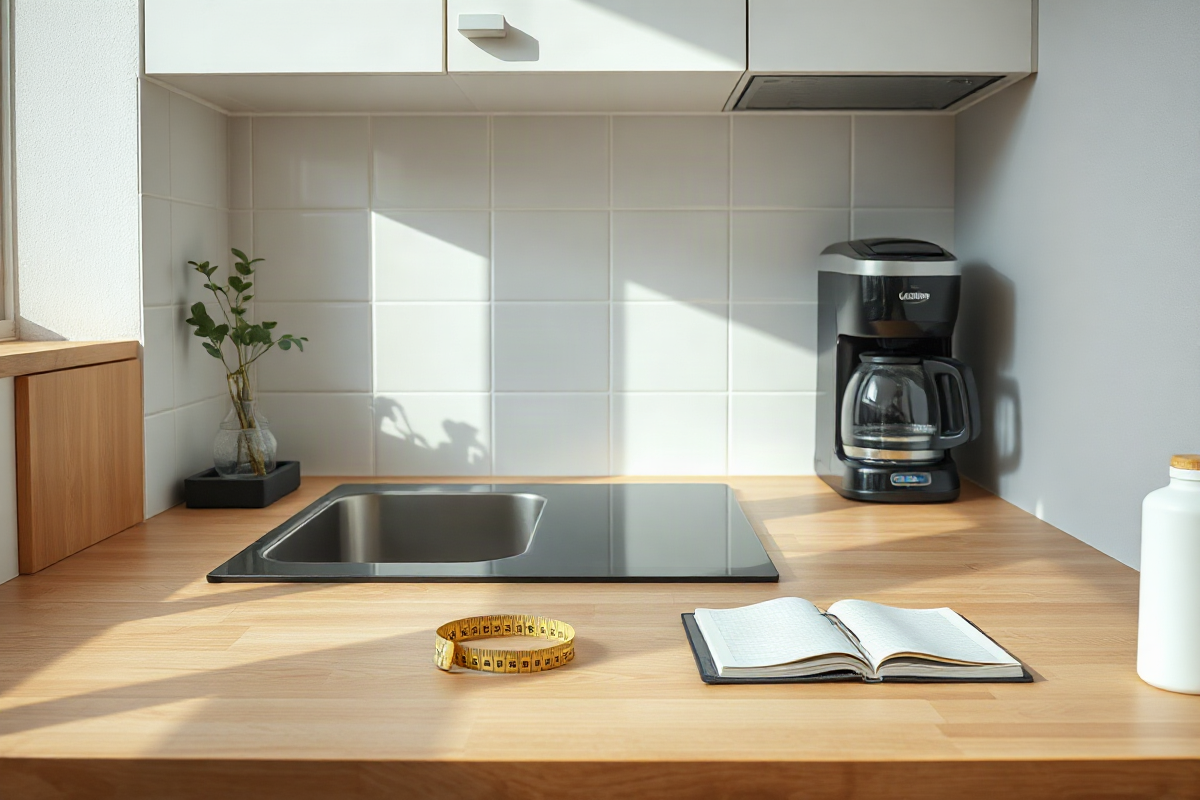
Before buying anything, get exact numbers. Measure your counter’s total length and depth, and note where outlets sit — an appliance zone only works if the appliances in it can actually reach a plug without a tangle of extension cords across the workspace.
Next, measure each appliance’s footprint: width, depth, and height, plus cord length. For anything that vents heat, like a toaster oven or air fryer, check the clearance the manufacturer recommends on the sides and back, not just the base footprint. Skipping this step is how people end up with a cart that’s technically big enough but too shallow for a toaster oven’s back clearance.
Finally, check your lease or landlord guidelines before mounting anything to a wall or cabinet, even with adhesive products marketed as damage-free. Some buildings restrict adhesive hooks on painted walls, textured surfaces, or tile, and some adhesives that work fine on smooth painted drywall fail on plaster or wallpaper. A quick check now avoids a security deposit dispute later.
Create a Daily-Use Appliance Zone
Start with what you touch every day. For most people that’s a coffee maker, kettle, or toaster — the items used before you’ve had caffeine and don’t want to think about where they’re stored. Group these into one dedicated stretch of counter, ideally near an outlet and away from the sink splash zone.
Within that zone, shelf risers or a turntable can add a second layer without expanding the footprint. A riser lets you slide mugs or a box of tea underneath a coffee maker; a turntable lets you spin to reach a toaster tucked behind a kettle instead of reaching over hot surfaces.
Everything else — the waffle iron, the ice cream maker, the appliance you use twice a year — doesn’t belong in this zone or on the counter at all. If it’s not part of your daily routine, it should live in a cabinet, on a high shelf, or in under-bed storage, freeing the zone to stay small and functional.
Turntables for tight zones
Match the turntable’s diameter to the actual cabinet or counter space you have, and check its weight capacity against the appliances you intend to spin — a turntable rated for spice jars won’t necessarily hold a stand mixer. Use it only on a stable, level surface, and don’t exceed the stated load limit, since overloading can cause tipping rather than smooth rotation.
Free Up Counter Space With Wall-Mounted Storage
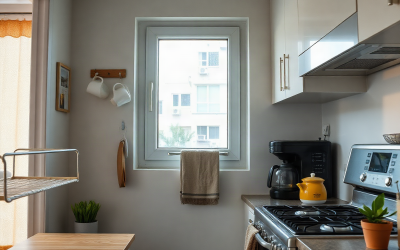
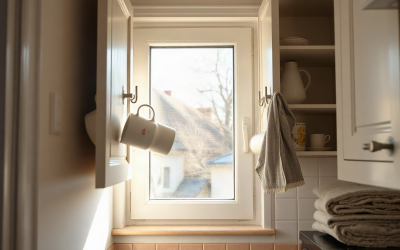
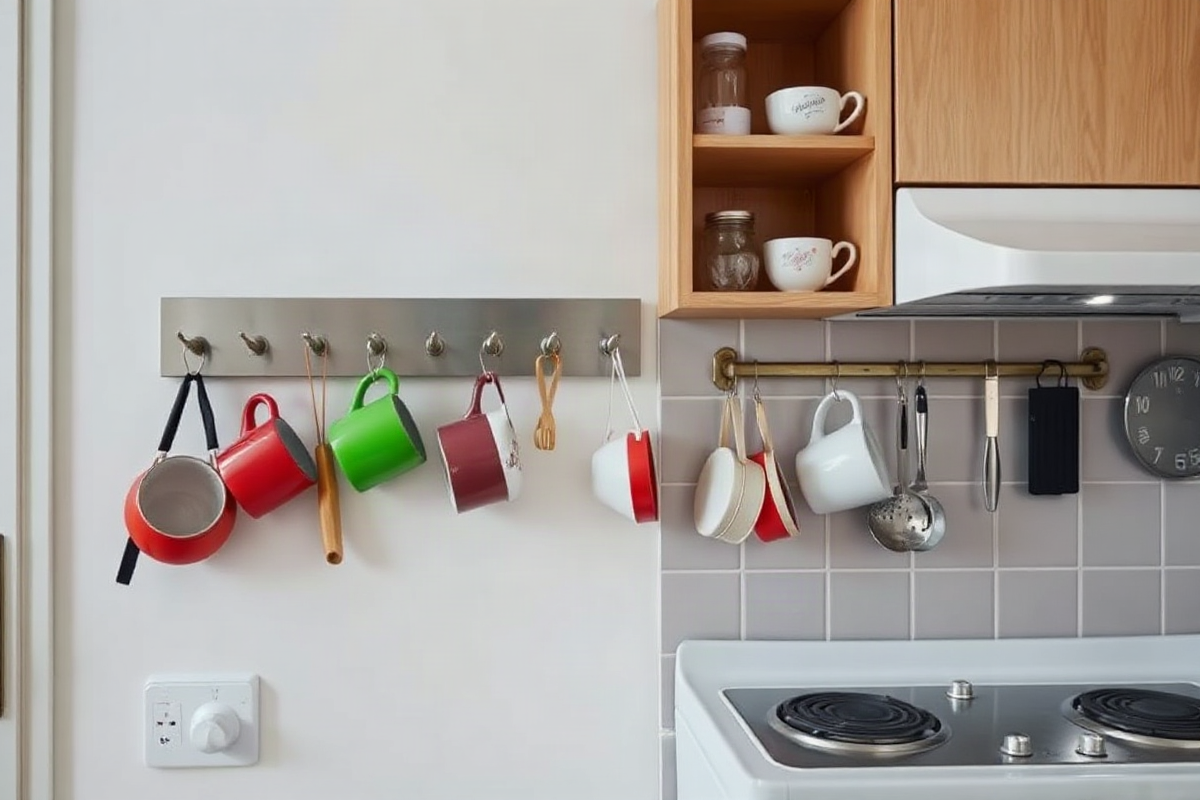
Once your daily zone is set, look at the wall above and beside the counter as unused storage. Removable hooks can hold mugs, oven mitts, dish towels, or small utensils — items light enough that a rated adhesive hook can support them without strain.
Removable hooks: choose a hook with a stated weight rating suited to what you’re hanging, and confirm the adhesive is designed for your wall or cabinet surface. Limitation: textured or freshly painted walls can cause even a well-rated hook to fail, so test in an inconspicuous spot first and don’t exceed the rated weight, especially for anything holding hot cookware.
Magnetic strips: these work well for metal tools like knives, scissors, or bottle openers, mounted along a wall or the side of a cabinet. Limitation: they only work on metal-compatible surfaces, and knife storage specifically should follow the manufacturer’s guidance on blade orientation and strip strength — a strip too weak for a chef’s knife is a safety issue, not just an inconvenience.
Pegboards: a pegboard gives you flexible, rearrangeable storage for hanging pots, utensils, or small baskets, and it’s easy to reconfigure as your needs change. Limitation: check that the hole spacing matches the hooks and accessories you want to use, and confirm your wall material can support the mounting hardware — drywall generally needs anchors rated for the pegboard’s loaded weight, not just the panel itself.
Add Vertical and Mobile Storage With Carts and Risers
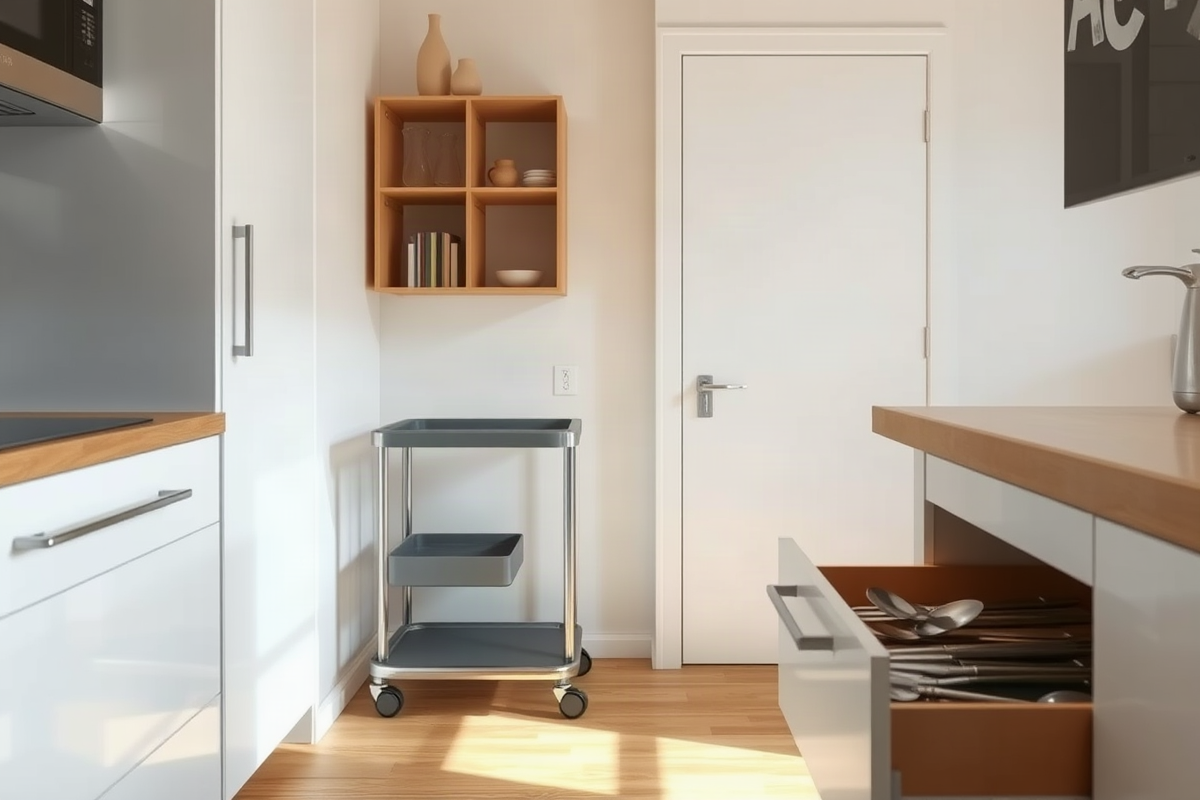
Small kitchens often have narrow gaps — beside a fridge, at the end of a counter run — that go unused because nothing standard fits. A slim cart sized to that exact gap can hold an appliance, a stack of dishware, or pantry overflow without any renovation.
Slim carts: pick a width that fits your measured gap with an inch or two of clearance, and check the shelf load capacity for what you plan to store, since a cart’s total capacity is often split across shelves rather than combined. Limitation: confirm the combined weight of everything you’ll load across all shelves before committing, and prioritize locking casters if the cart will sit in a high-traffic path — an unlocked cart that rolls when bumped is a hazard in a tight kitchen.
Shelf risers: these stack to double your usable layers in a cabinet or on a counter, useful for spices, small appliances, or extra dishware. Limitation: check the weight rating before stacking risers on top of each other, and don’t exceed the manufacturer’s stated load limit even if the riser looks sturdy enough to hold more.
Organize What’s Left in Drawers
Once appliances and everyday items are zoned, drawers absorb whatever’s left — gadgets, utensils, and tools that don’t need to live in sight. Adjustable drawer organizers keep these from becoming a single junk drawer where nothing is findable.
Drawer organizers: choose adjustable dividers sized to your drawer’s actual interior dimensions, with a non-slip base so they don’t shift every time the drawer opens. Limitation: measure both depth and width before buying — an organizer that’s slightly too tall can jam the drawer track, and one that’s too shallow leaves items sliding underneath the dividers.
Resist the urge to overfill drawers just because there’s technically room. A drawer that’s packed to the point of sticking or requiring force to close will eventually warp its track or the dividers themselves, undoing the organization you just set up.
Maintain Your Zones Long-Term
Appliance zones don’t stay organized on their own — they drift as new items get set down in the nearest open spot. Set a recurring check, even just five minutes weekly, to put stray items back in their zone before clutter rebuilds.
Rotate appliances seasonally. A slow cooker used constantly in winter can move to a lower cabinet in summer, freeing its zone for something you use more often that season, like a blender for cold drinks.
Every few months, reassess whether your zones still match your actual routine. If you’ve stopped using the coffee maker in favor of a kettle, or added a new gadget you use daily, shift the zone layout to match rather than forcing new habits into an old setup. The goal is a system that adapts with you, not one you have to fight to maintain.