How to Organize a Tiny Pantry or Food Cupboard So Everything Is Visible
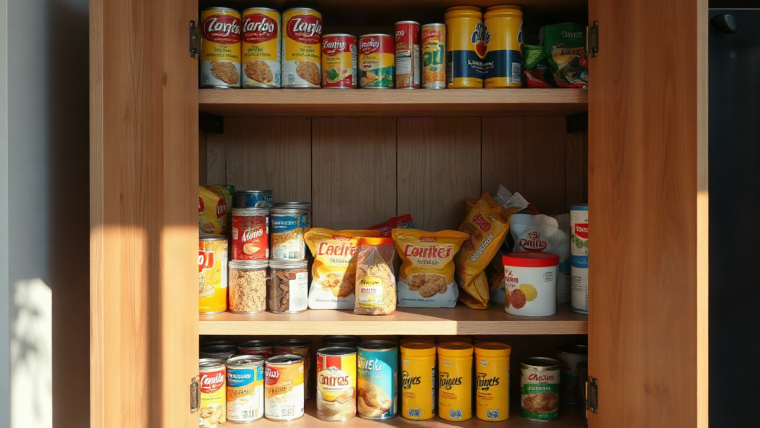
If you can’t find the can of beans without pulling out four other cans first, your pantry isn’t small—it’s just disorganized in a way that small spaces make painfully obvious. A tiny pantry or single food cupboard has no room for error: one bad habit, like tossing a new box on top of an old one, and the whole shelf turns into a guessing game. This guide is about fixing that without renovating anything or losing your security deposit.
Why Small Pantries Feel Chaotic (and What “Visible” Really Means)
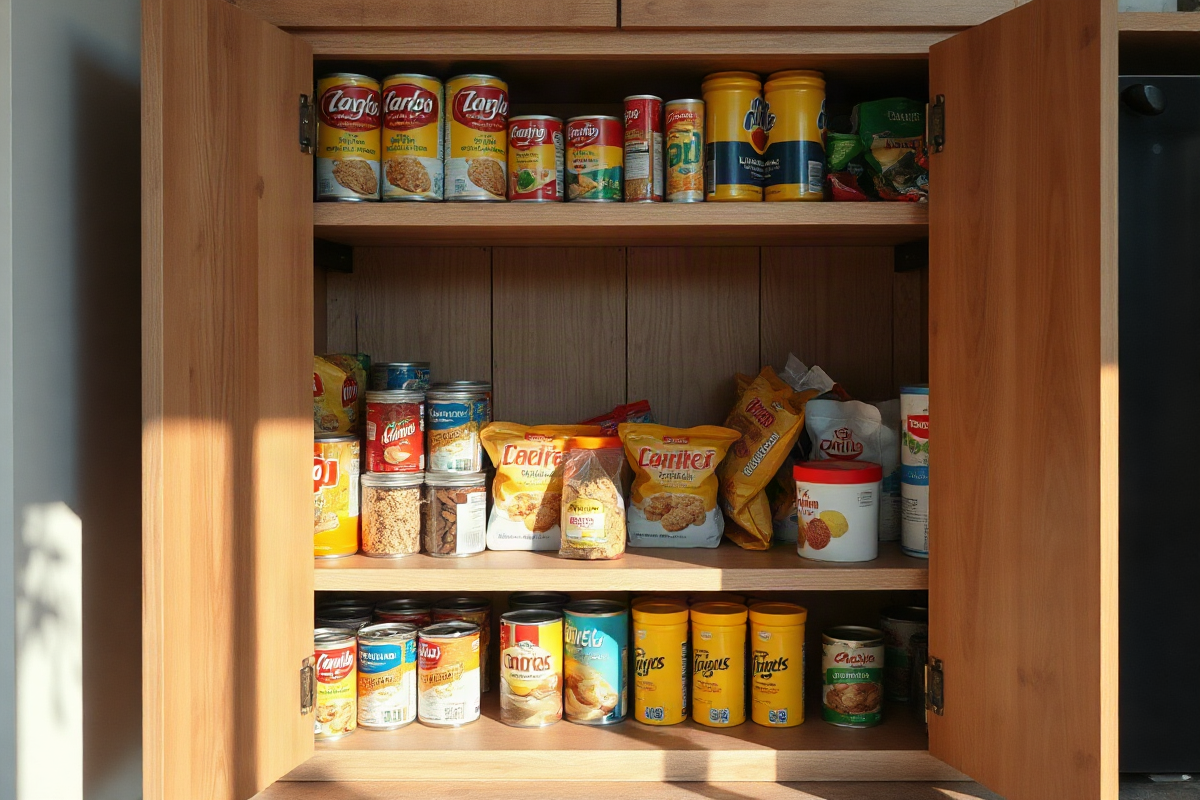
Most small pantries fall apart for the same three reasons: shelves that are too deep for what’s stored on them, boxes and bags stacked instead of lined up, and no real separation between categories like snacks, canned goods, and baking supplies. When everything blends together, your brain has to search instead of scan.
“Visible” in this context has a specific meaning: you should be able to identify what’s on a shelf and read its label without moving anything else out of the way first. That’s the actual goal—not a magazine-worthy pantry, just one where a glance tells you what you have and what you’re out of.
It’s also worth setting expectations. This is a workflow fix, not a full renovation. You’re rearranging, adding a few inexpensive tools, and building light habits—not tearing out shelving or repainting. Everything here should work whether you own your place or rent it.
Step 1: Empty and Measure Before Buying Anything
It’s tempting to order a bunch of bins and risers first, then figure out where they go. That almost always ends in returns. Start by fully emptying the pantry or cupboard and taking real measurements: shelf depth, the vertical gap between each shelf, and any clearance issues near the door or adjacent walls that might block a bin from sliding out fully.
- Measure shelf depth and height between shelves, not just the overall cupboard size.
- Check whether shelves are fixed, adjustable, or wire-style, since this affects whether risers or turntables sit flat and stable.
- Sort everything into rough categories—canned goods, snacks, baking, spices, drinks—before you buy a single organizer.
Sorting first tells you how much space each category actually needs, which prevents buying three sets of matching bins only to discover you needed two deep ones and one shallow one instead.
Step 2: Add Height with Shelf Risers
Most small pantries have wasted vertical space above shorter items like sauce packets, spice jars, or snack boxes. Shelf risers let you stack a second tier above them instead of leaving three or four inches of dead air.
- Stackable or tiered risers effectively double usable space on a tall shelf, especially for canned goods or jars of similar height.
- Prioritize risers with a clearly stated weight limit, particularly if you’re stacking anything glass or metal on the upper tier.
- Keep the items you reach for daily on the lower, eye-level tier, and save the riser’s top level for things used less often.
Limitation: risers depend on a flat, stable base. If your pantry has wire shelving, test with lightweight items first, since a riser’s feet can slip between wire gaps or sit unevenly.
Step 3: Use Turntables for Deep or Corner Shelves
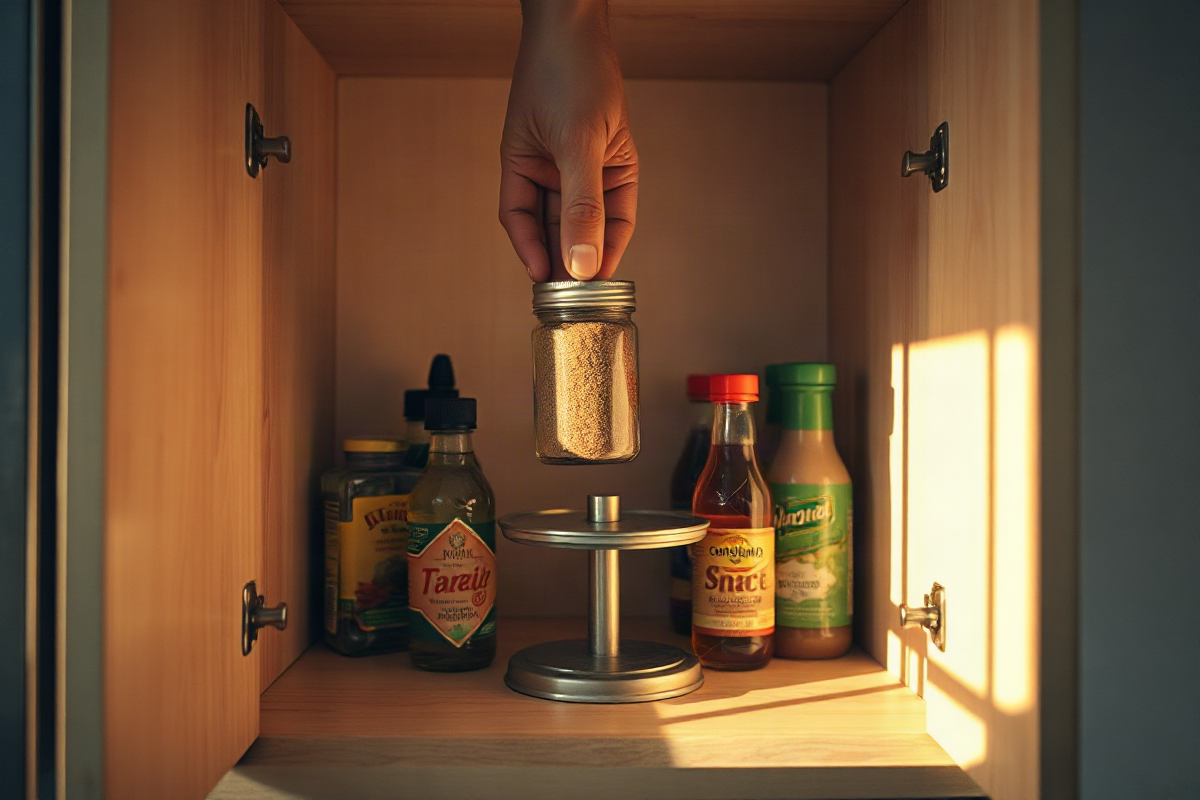
Deep shelves and awkward corners are where oils, sauces, and spice jars go to disappear. A turntable (sometimes called a lazy Susan) solves this by letting you spin the back row into view instead of reaching blindly.
- Turntables work best for oils, condiments, and spice jars—anything round-bottomed that can slide instead of tip.
- Choose the diameter based on your actual shelf depth, not a guess. A turntable that’s even an inch too wide will catch on the shelf edge or door frame.
- Avoid loading heavy items near the edge, since an off-center load can make a thin-shelf turntable tip or wobble when spun.
Limitation: check whether the turntable is rated for glass or heavier jars before loading it up—lighter plastic turntables are usually built for spice jars and small bottles, not a full set of mason jars.
Step 4: Add Vertical Storage Without Drilling
Once shelves are optimized, the inside of the pantry door or the walls of a cupboard are often unused space. You can add storage here without a single hole, which matters if you’re renting.
- Removable adhesive hooks work well for lightweight items—measuring cups, reusable shopping bags, oven mitts—as long as you check the stated weight limit and confirm the surface is compatible (painted wood, tile, and laminate are common safe surfaces).
- Magnetic strips are useful for holding small metal tins or spice jars, but only on surfaces with real ferrous metal underneath, like the inside of a metal cabinet door. They will not stick to drywall, plain wood, or most laminate cabinet fronts.
- Always check the manufacturer’s weight and surface guidance before hanging anything—overloading a hook rated for one pound with a two-pound jar is a common cause of hooks failing and taking paint with them.
Limitation: textured walls, wallpaper, and some matte paints reduce adhesive hold significantly. If your rental has any of these, test a hook in a low-stakes spot first.
Step 5: Try a Pegboard for Flexible, Customizable Storage
A small pegboard mounted inside a cupboard door or on an open cupboard wall gives you adjustable hook placement, which is useful since pantry needs shift as your shopping habits change.
- Pegboards are a good fit for renters who want to rearrange storage over time without repositioning fixed hooks or shelves.
- Before buying, check the mounting requirements—some pegboards need screws into a solid backing, which may not suit a hollow or laminate rental cabinet door. Confirm it suits a rental-safe installation method if you’re avoiding permanent holes.
- Pegboards are best for lightweight tools, packets, and small utensils—not heavy jars or canned goods, which can pull hooks loose or warp thin panels.
Limitation: weight capacity is usually per-hook, not per-panel, so overloading a single hook with several heavy items is a common failure point even if the board itself is sturdy.
Step 6: Use Drawer Organizers for Packets and Small Items
If your pantry setup includes a drawer—or you have a shallow drawer near the kitchen that’s become a junk catch-all for snack packets and seasoning sachets—dividers can make a real difference.
- Dividing packets, sachets, and spice tins so they lie flat means you can see labels at a glance instead of digging through a pile.
- Measure your drawer’s length, width, and depth before choosing an organizer. A generic “one size fits most” set often leaves gaps or doesn’t fit at all.
- This approach works especially well for shallow drawers under the counter or near the pantry, where deep bins would waste space.
Limitation: an organizer that’s even slightly oversized can jam the drawer track. If you’re ordering online without seeing it in person, check the return policy before committing.
Step 7: Add a Slim Cart for Overflow Storage
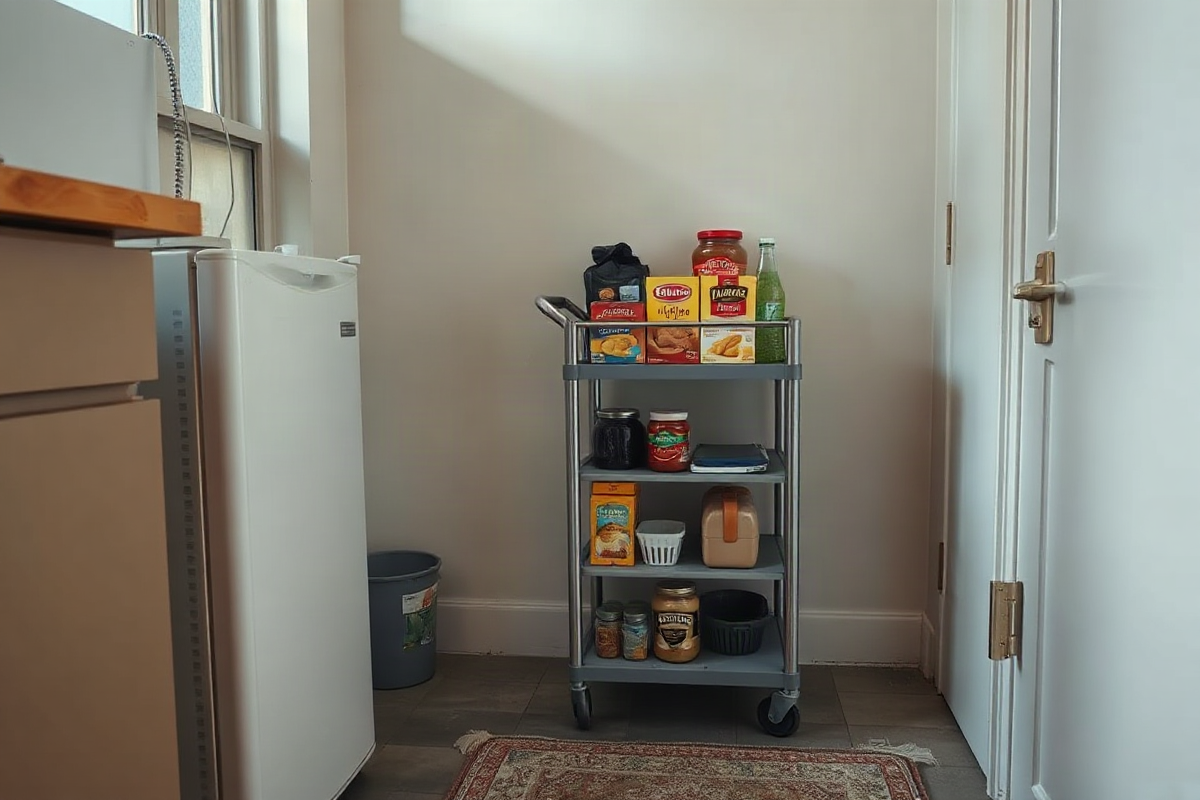
Sometimes the pantry itself is simply too small for bulk purchases—the family-size cereal box, a case of sparkling water, extra paper towels. A slim rolling cart placed nearby can absorb this overflow without cluttering the counters.
- Measure the cart’s width against your doorway and any hallway or kitchen clearance before buying—narrow kitchens can make even a slim cart hard to maneuver.
- Look for locking wheels if the cart will sit near foot traffic, so it doesn’t roll when bumped in a small kitchen.
- Keep the heaviest items on the bottom shelf of the cart. Top-heavy loading is a common cause of tipping, especially on carts with small wheels.
Limitation: most slim carts have a stated weight capacity per shelf, not just overall—check this before loading up canned goods or water bottles on a single tier.
Step 8: Maintain Visibility Long-Term
Organizing the pantry once is the easy part. Keeping it visible six months later is where most systems quietly fall apart, usually because new groceries get shoved in wherever they fit instead of back into their zone.
- Do a five-minute reset once a week—straighten stacks, push labels forward, and return anything that’s drifted out of its category.
- Rotate stock so older items move to the front and newer purchases go to the back. This also helps you actually use things before they expire.
- Reassess your organizers every few months. If your grocery habits shift—more snacks, less baking, a new bulk-buying routine—your bins and risers should shift with them rather than staying fixed to an old system.
A tiny pantry will never have room for mistakes the way a walk-in pantry does, but that’s actually what makes it manageable: fewer items, fewer zones, and a five-minute weekly check are usually enough to keep everything visible without turning organization into a chore.