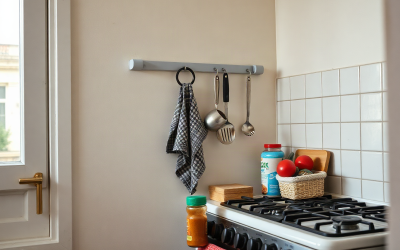
How to Organize Small Kitchen Cabinets and Drawers Without Wasting Space
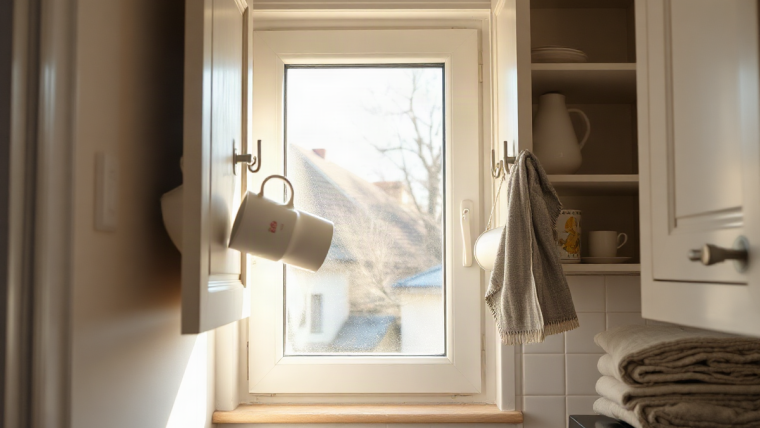
Small kitchen cabinets don’t need more stuff crammed into them — they need a system that matches the actual dimensions you’re working with. If you’ve ever bought an organizer that looked perfect online and then didn’t fit your drawer, or hung a hook that peeled off the cabinet door within a week, the problem usually isn’t the product. It’s that measurements got skipped in favor of guessing. This guide walks through how to organize small kitchen cabinets and drawers by starting with the space itself, then matching tools to it — without drilling holes you can’t patch before moving out.
Start With Measurements, Not Products
Before you add anything to a cart, grab a tape measure and go through every cabinet and drawer you’re trying to fix. Note the height, depth, and width of each cabinet interior, plus the exact interior dimensions of drawers — not the exterior frame, which is usually an inch or two larger. A drawer organizer that’s a quarter-inch too wide won’t slide in at all, and one that’s too short will slide around and defeat the purpose.
Also check door swing clearance and hinge placement if you’re planning to add hooks or racks to cabinet doors. Some hinges sit close enough to the door edge that a hook placed too near it will hit the frame when the door closes. If you’re renting, look at your lease or ask your landlord about weight limits for anything mounted to walls or cabinet interiors — some leases specifically restrict adhesive hooks or hardware above a certain weight, even temporary ones.
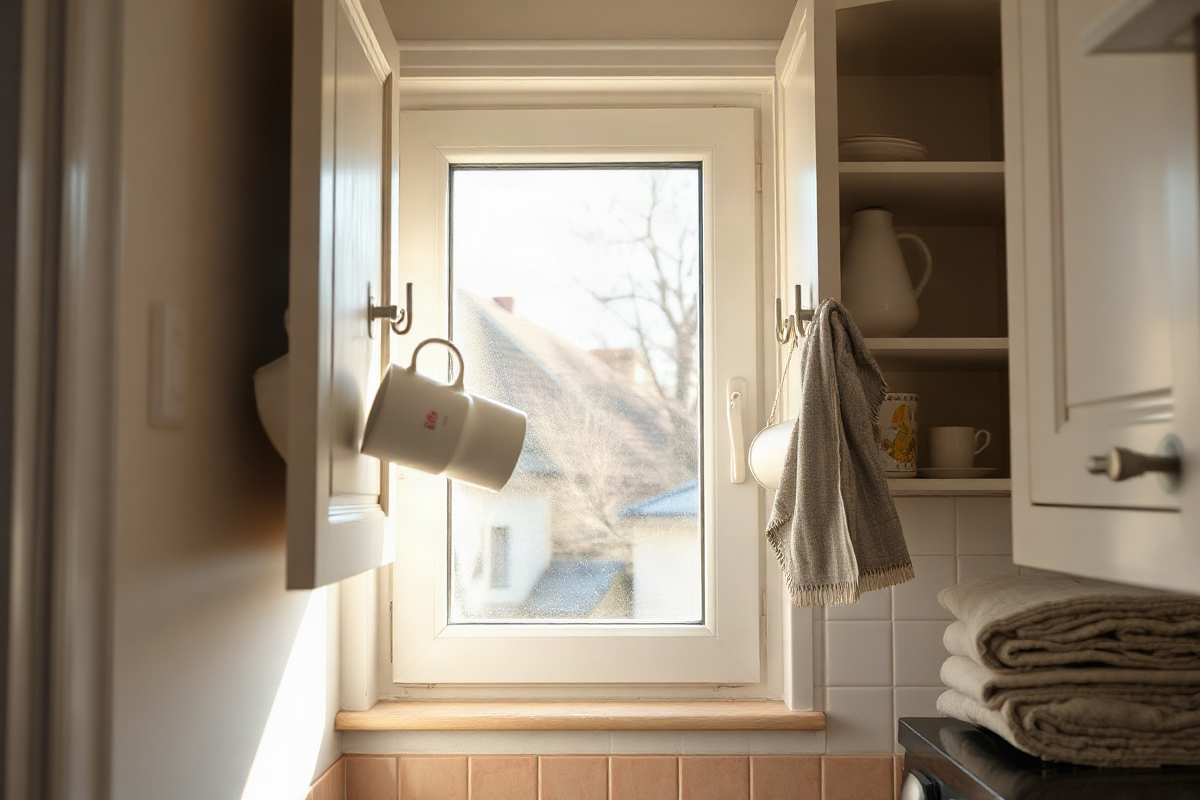
Make Use of Cabinet Doors With Removable Hooks
The inside of a cabinet door is often the most wasted space in a small kitchen. Removable hooks — adhesive-backed or over-the-door style — can hold measuring cups, small pot lids, or cleaning brushes without taking up shelf space. Look for hooks with a stated weight limit and adhesive suited to the cabinet surface material; laminate, painted wood, and raw wood all bond differently.
Limitation: adhesive hooks can fail in areas exposed to steam or grease, like cabinets near the stovetop, so test on an inconspicuous spot first and avoid heavier pans until you’ve confirmed the hold over a few days.
Add Magnetic Strips for Small Metal Tools
Magnetic strips work well inside a cabinet for holding small metal items like paring knives, bottle openers, or spice tins with metal lids — but only if the cabinet interior is actual metal. Most laminate or wood-faced cabinets won’t hold a magnet at all, so confirm the surface before buying.
Limitation: magnetic strips are meant for lightweight tools, not heavy cookware, and if you’re storing knives this way, position the strip out of reach of small children. Keep it away from high-humidity zones near the stove, where moisture can affect adhesive backing over time.
Use Pegboards for Flexible, Renter-Safe Storage
A freestanding or clip-mounted pegboard gives you the flexibility of a wall-mounted system without the wall damage. These sit inside a cabinet or against a counter backsplash area, held in place by tension or clips rather than screws, so you can rearrange hooks as your kitchen needs change without leaving new holes behind.
Limitation: check that the board material and hook combination can actually support the weight of what you’re hanging — thin pegboard can bow under the weight of ceramic mugs or heavier utensils over time.
Stack Vertically With Shelf Risers
Most small kitchen cabinets have several inches of dead space above stacked plates or cans, because a single stack limits you to one usable layer. A shelf riser adds a second tier without requiring more footprint. Measure the interior cabinet height first — risers need enough clearance underneath the existing shelf above to actually fit.
Limitation: choose risers with a stable, non-slip base, and don’t overload them beyond the manufacturer’s stated capacity. A riser rated for lightweight canned goods won’t hold heavy stoneware plates without flexing or tipping.
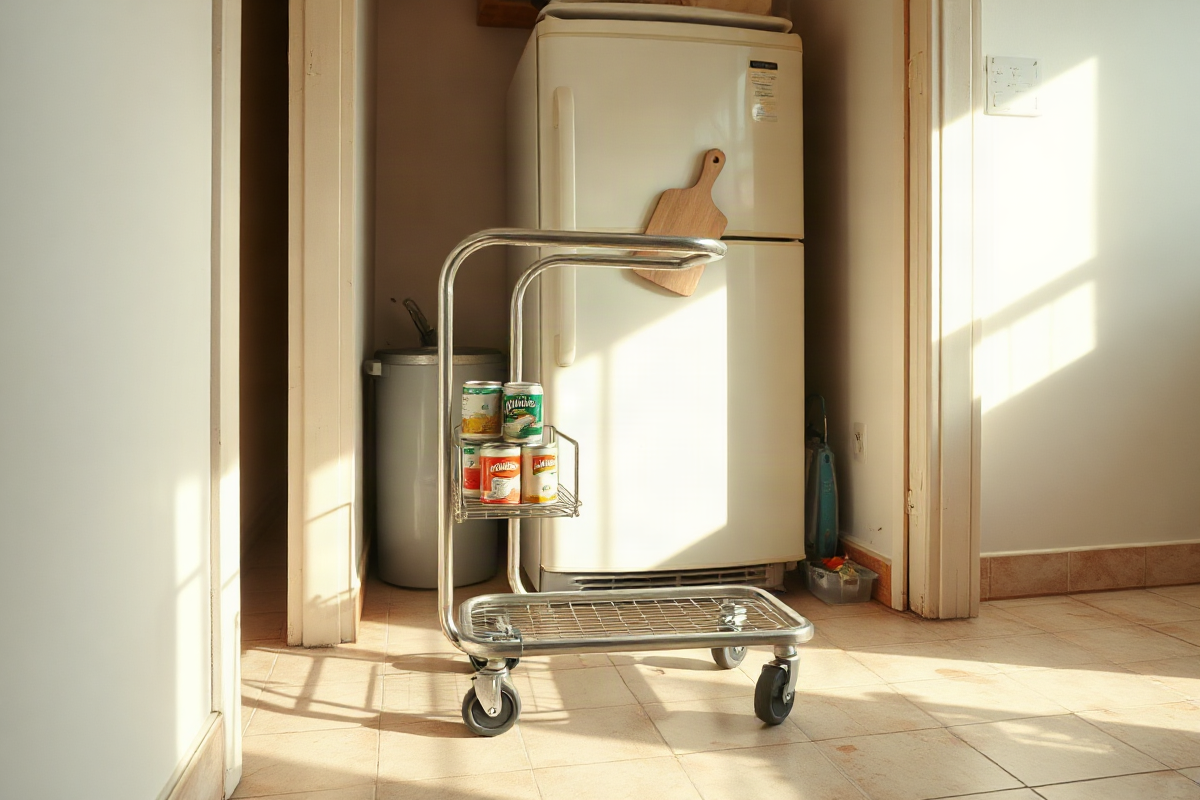
Fit Slim Carts Into Narrow Gaps
The gap between a refrigerator and the wall, or beside a cabinet run, is often just wide enough for a slim rolling cart — but only if you measure it correctly first. Include baseboards, trim, or any wall texture in your measurement, since these can eat into the gap width by an inch or more.
Limitation: pick a cart with locking wheels for stability on kitchen flooring, and check that the shelf material can bear the weight of what you intend to store without warping over time — thin wire or particleboard shelves sag under heavier jars or small appliances.
Organize Drawers With Dividers and Inserts
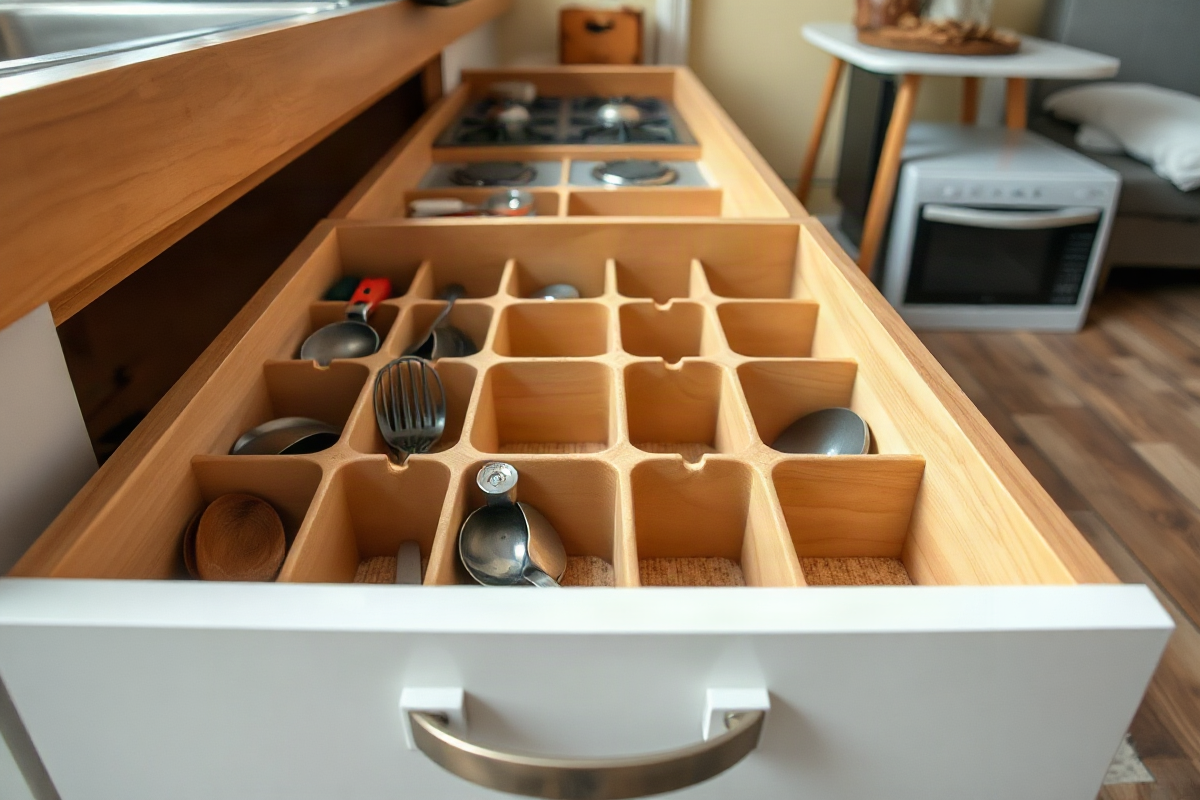
Drawer organization tips often start and end with “buy a tray,” but fit matters more than style here. Measure drawer depth and width before choosing between adjustable expanding dividers and fixed-size inserts. A tray that’s too shallow will let utensils shift under it; one that’s too wide won’t sit flat.
Limitation: choose inserts that won’t scratch drawer liners or laminate finishes, and avoid anything that pinches the drawer runners or prevents the drawer from closing fully — this is a common issue with inserts bought for a slightly different drawer size. Group utensils by how often you use them, keeping daily items toward the front of the drawer rather than organized purely by type.
Use Turntables for Corner and Deep Cabinets
Deep or corner cabinets are where small items get lost behind larger ones, since you can’t see or reach the back without pulling everything out. A turntable — sometimes called a lazy Susan — solves this by rotating contents into view. Measure the cabinet depth to find a diameter that fits without wasted space around the edges; too small and you’re back to dead zones, too large and it won’t spin freely.
Limitation: turntables work best for bottles, jars, and condiments rather than heavy cookware, and it’s worth checking the weight rating before loading it fully — thinner plastic turntables can crack under the combined weight of several full glass jars.
Maintain the System Without Overcrowding
Organization systems break down over time not because the products fail, but because what’s stored in the kitchen keeps changing while the setup doesn’t. Revisit your cabinets and drawers every few months, especially after a shopping trip that adds new gadgets or containers.
Before adding another organizer, remove anything unused first — an extra drawer divider added to a drawer that’s already full just creates more friction, not more space. Keep the items you reach for daily at eye level in cabinets or near the front of drawers, and push occasional-use items to harder-to-reach spots. This keeps the system working for how you actually cook, rather than how the kitchen looked the day you set it up.
If cabinet space is genuinely maxed out, it may be worth extending the same measuring-first approach to a pantry or nearby closet.